Connect ServiceTitan to HubSpot
Set up the ServiceTitan source connection, verify it, and configure your first Synkazo sync job.
Install Synkazo in HubSpot
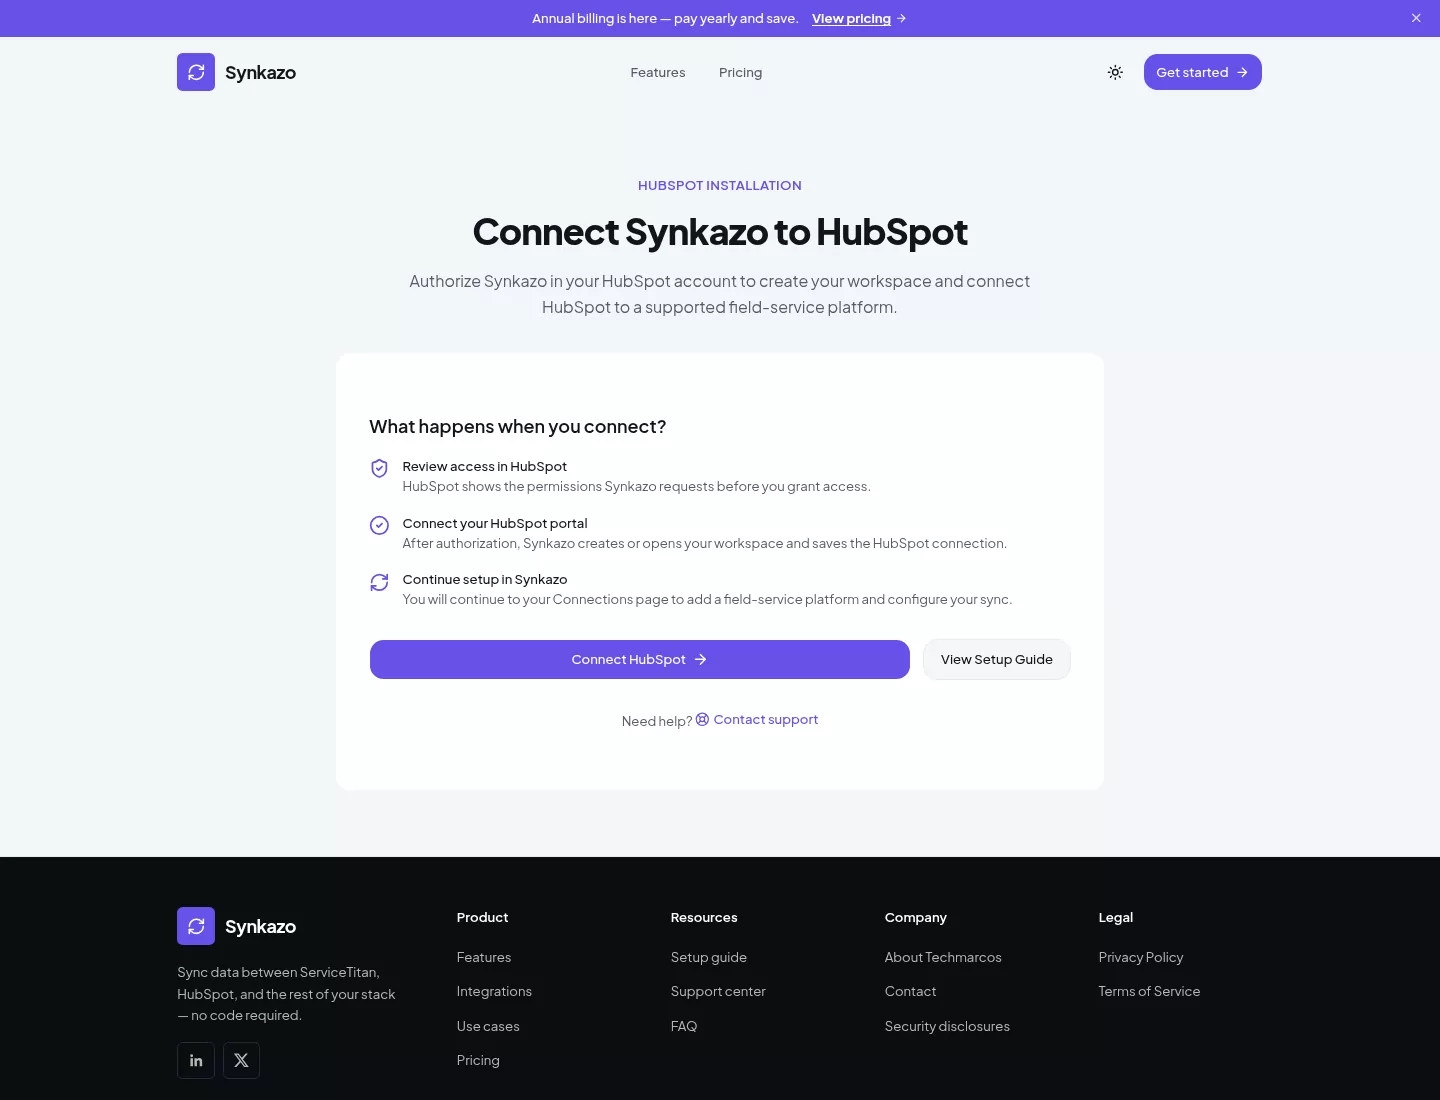
Start from the Synkazo installation page and connect the HubSpot account that will receive your ServiceTitan data.
- 1Open the Synkazo installation page.
- 2Select Connect HubSpot.
- 3In HubSpot, choose the correct account, review the requested access, and approve the connection.
- 4Wait for HubSpot to return you to Synkazo. Sign in if Synkazo asks you to complete the handoff.
Expected result: Synkazo opens your project and shows HubSpot as connected on the Connections page.
Connect ServiceTitan
Add ServiceTitan as the project source using credentials from a demo or test ServiceTitan account.
- 1If Choose your source platform appears, select ServiceTitan, choose One Way or Two Way under Sync Mode, and select Finish. These choices cannot be changed for this project.
- 2On the Connections page, select Connect on the ServiceTitan card, then select Manual Setup.
- 3Enter the App Key, Client ID, Client Secret, and Tenant ID.
- 4Select Verify Credentials.
Expected result: The ServiceTitan card shows a connected status and provides Retest, Edit, and Permissions actions.
Create the sync job
Define the ServiceTitan records to send to the matching HubSpot object.
- 1From Connections, select Next step: Create Sync Job.
- 2Choose the ServiceTitan Source Object and HubSpot Destination Object.
- 3Enter a Job Name.
- 4Choose the Job Type and Job Behavior: New Records, Updated Records, or New & Updated.
- 5Continue to field mapping.
Expected result: Synkazo loads the fields for the two selected objects and opens the mapping step.
Review field mapping
Review Synkazo's recommended mappings before the first run and change any destination field that does not match your HubSpot setup.
- 1Review each proposed ServiceTitan-to-HubSpot field mapping.
- 2Add, remove, or change mappings as needed.
- 3Choose a reliable unique mapping and select Set as match field.
- 4Continue after every required mapping is complete.
Expected result: The mapping step shows one match field and no unresolved required mappings.
Activate the sync
Finish the job settings and make the job ready to run.
- 1For a One Way job, choose the available schedule. Two Way jobs synchronize automatically and do not show the same schedule controls.
- 2Under Start As, select Active.
- 3Review the job summary and create the job.
Expected result: The job page opens with the job marked Active and a Start Sync action available.
Start the first sync
Run a complete first sync before relying on the ongoing schedule.
- 1Select Start Sync on the job page.
- 2Select Sync All to establish the first complete baseline.
- 3Keep the page open until Synkazo reports that the run has finished.
Expected result: The first run finishes and the job summary reports processed records.
Verify the successful sync
Confirm the run result before considering setup complete.
- 1Open Overview and confirm the latest run completed.
- 2Open Run History and review the created, updated, skipped, and failed counts.
- 3Open a demo record in HubSpot and confirm the mapped fields contain the expected ServiceTitan test data.
- 4If any records failed, open the run details and correct the customer-facing configuration before running the job again.
Expected result: Run History shows a completed run with no unexplained failures, and the demo HubSpot record contains the expected mapped values.